2017.11.03; How to Use Plex to Build a Seamless Media Library | WIRED
Published by DB,
- Author: Brendan NystedtBrendan Nystedt
- 11.02.17
- 08:00 am
How to Use Plex to Build a Seamless Media Library

Whether it's music or movies, my content is all over the place. From rare films I have on DVD to music that's been trapped in iTunes for the better part of a decade, it's a nightmare. Nothing lives in one central location. Instead, my files are spread out across multiple computers, optical media, and external hard drives.
In order to consolidate my stuff, I decided to build a Plex server.
Plex is a service that makes setting up a media server stupidly easy. A decade ago, you'd have to be an IT expert to figure out all the disk permissions, network settings, and other bugbears that building any kind of server entails. But with Plex, you can turn any computer into a media share you can access anywhere.
What you end up with is a Netflix or Spotify-like streaming service—but, instead of worrying about movies or music leaving a service, it's your own personal collection of media, always on-tap. Companion apps are available for everything from iOS devices to a PlayStation, so you can access your media anywhere.
Best of all? Plex is free, at least if you just want to use it on your home network. If you want to access your media remotely via the internet, and stream the stuff from your home server wherever you are. Additional features are available through a subscription to Plex Pass, so if you want to use your server to backup your smartphone's photos, or desire better art and lyrics on songs, that's the way to go.
Setting Up
Plex can run on everything from a simple Raspberry Pi 3 to a wicked-fast Alienware gaming rig so there's really an option for everyone. You could even run Plex on your current PC or Mac if you don't want to invest in new hardware—just keep in mind that your computer needs to be on and running for you to access all of your stuff.
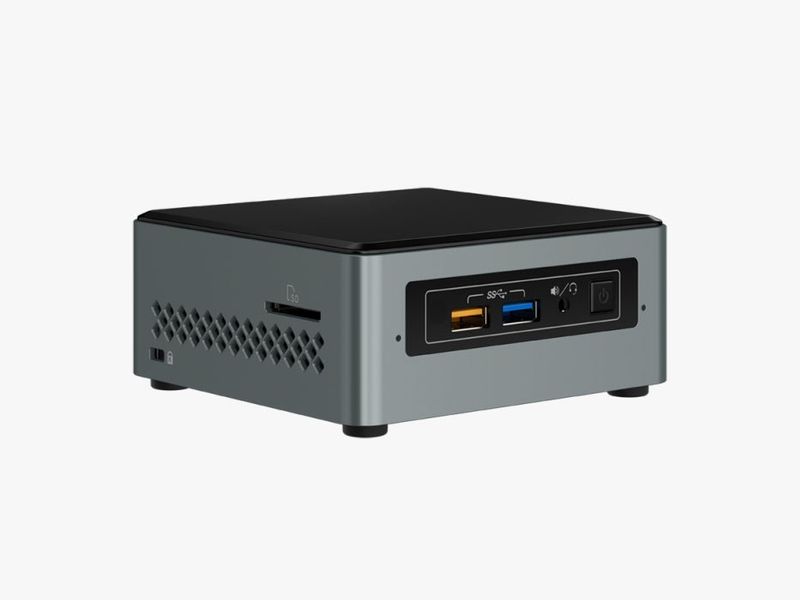
I opted for a compact, quiet, power-sipping computer that I could keep on most of the time: Intel's NUC. These super compact PCs aren't the fastest, but they're efficient and unobtrusive. Taking into account some components I had already (a hard drive and a legit Windows 10 license), I bought the Intel NUC6CAYH. This barebones PC kit needs an operating system, RAM, and a hard drive to get going. I ordered the computer, a stick of RAM, and an external 4TB hard drive for media storage.
If you don't have Windows and a spare hard drive lying around, you could opt for the following similar components for around $350 total:
With these parts, you get a computer already running Windows, and a RAM upgrade to a total of 4 GB will help it perform much more reliably as a server. The external Western Digital hard drive is cheaper than most internal drives you'll find without skimping on massive storage capacity. The super cute Intel NUCs also come with a three-year warranty, which is longer than most other PCs include at any price.
Let It Rip
To set my server up, I simply fired up Windows 10, downloaded the easy-peasy Plex Media Server installer, and moved my media to the 4 TB external drive. You show Plex where to find your music, movies, and other media. From there, Plex automatically grabs metadata and artwork for everything.
Now that I have it up and running, I've been using MakeMKV and Handbrake to rip and compress my DVDs and Blu-rays to build my library. Plex doesn't automatically add your newest media to its pool of files, so there will be some maintenance involved when you get new music or rip a movie you just bought.
If you just want to experiment, feel free to download Plex and run it on the computer you already own. Simply set up a Plex account, install the server software, and tell Plex where your media is on your hard disk.
For me, this Intel NUC-based setup is working even better than I anticipated. I have more than enough performance to stream HD video to my Xbox, tablet, and computers on my local network, and I can also enjoy my entire music library when I'm away from home.
